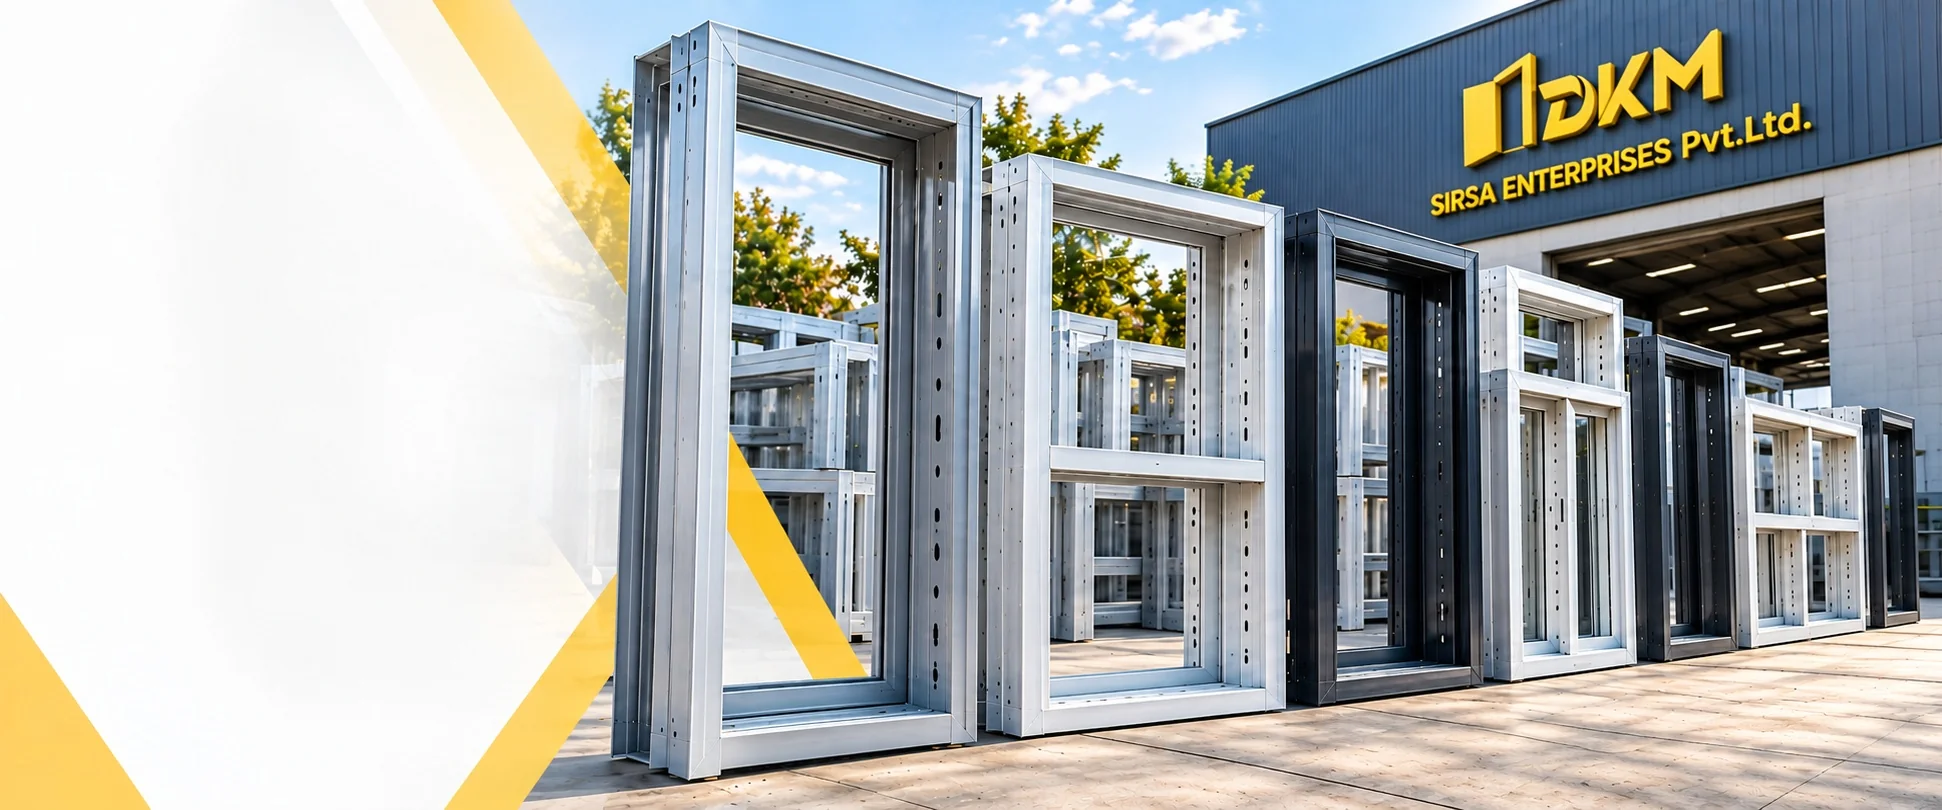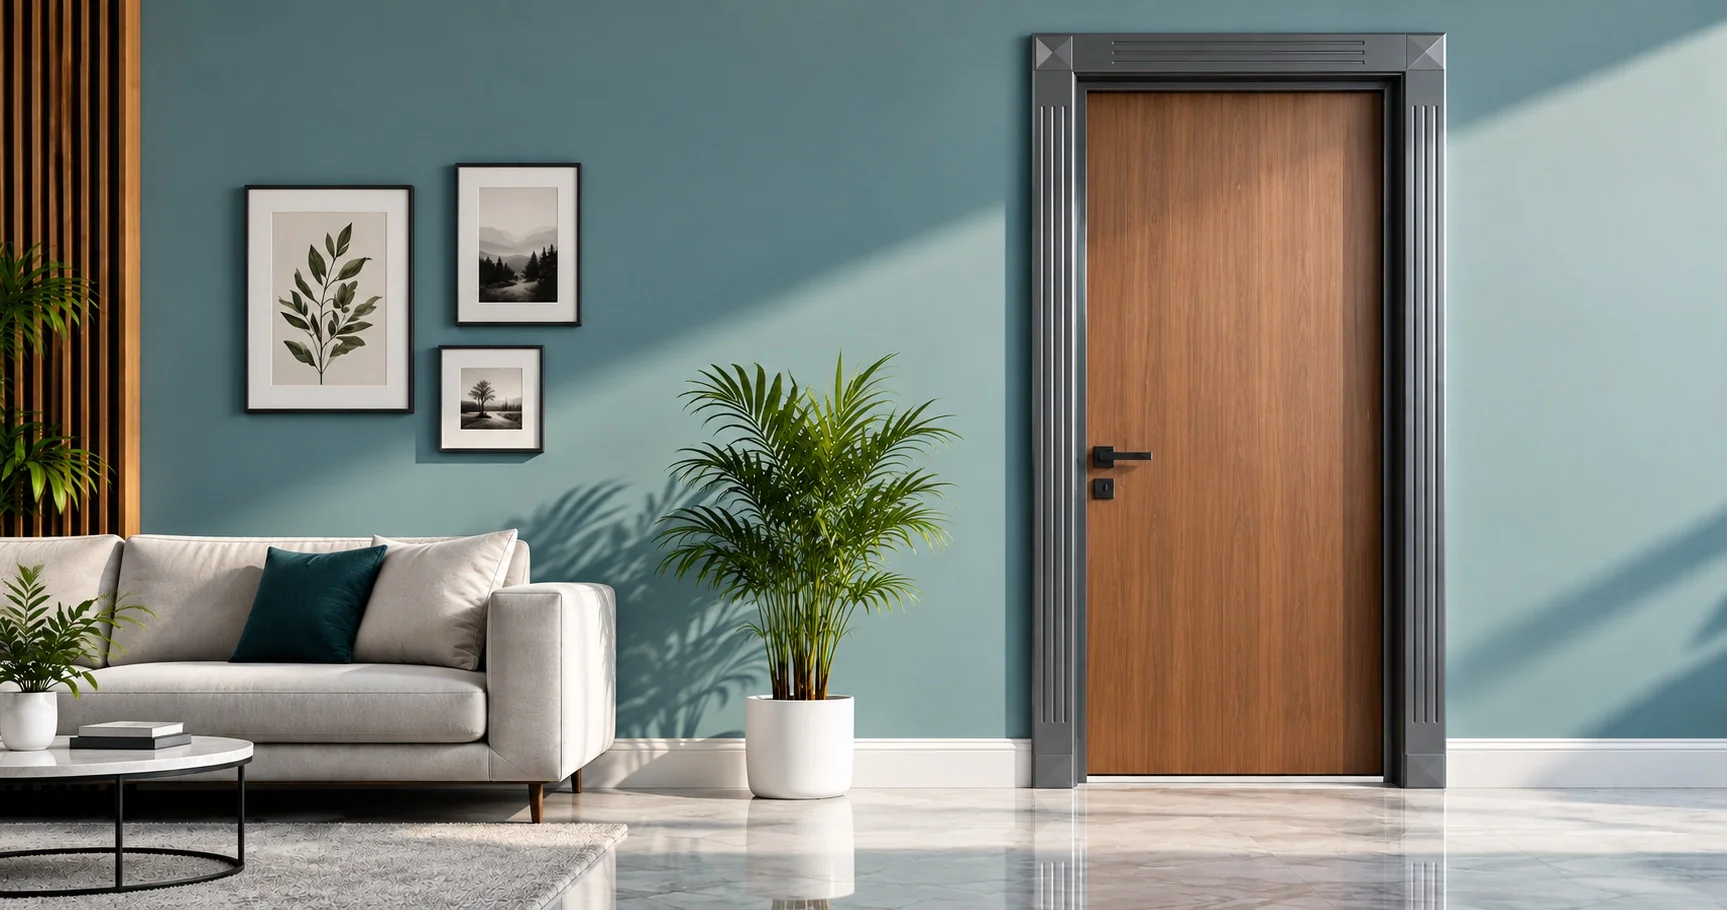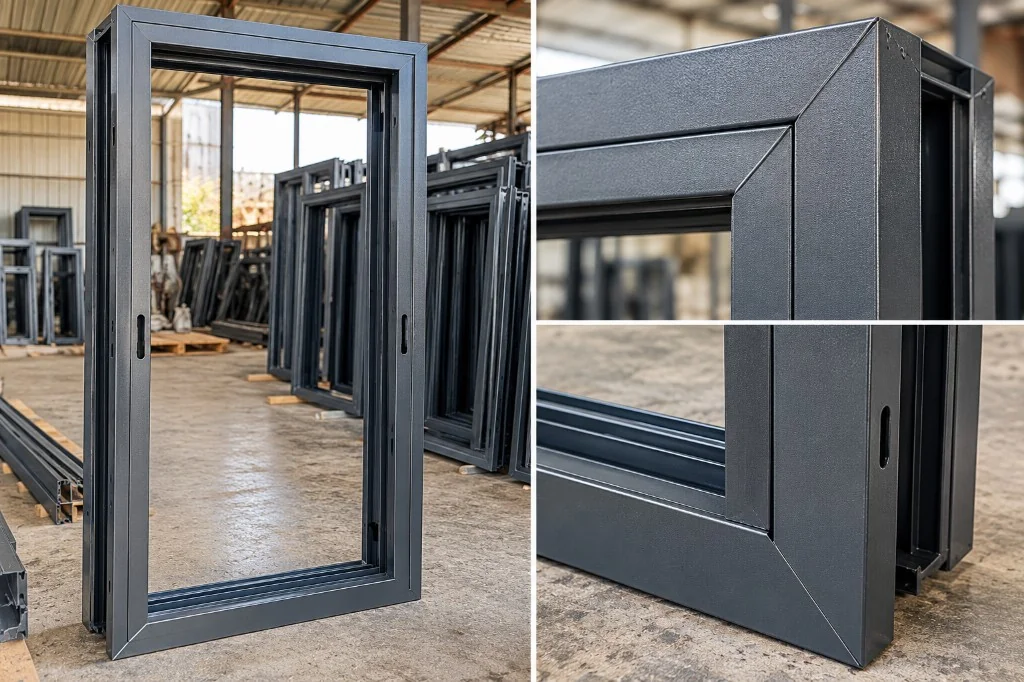
One advantage of DKM PPGI chaukhats over timber is that they can be fixed after plaster and flooring. That means less damage to finished walls and faster handover for builders.
What you need
- Made-to-order DKM frame (single or double rebate / jointless chaugat)
- Spirit level and measuring tape
- Drill + expansion bolts sized for your wall type
- Shims for fine alignment
Step-by-step
- Check opening size — confirm clear height and width against the DKM size chart for that opening.
- Dry-fit the frame — place the CNC-formed frame in the opening and check plumb on both jambs.
- Mark bolt points — mark expansion-bolt positions on the wall sides as per DKM install guidance.
- Drill & fix — insert bolts, tighten evenly so the rebate stays square for the shutter.
- Final check — verify diagonal measurements, then hang the door shutter.
For site support, contact your nearest authorised DKM distributor or call Toll Free 1800-102-2751.